

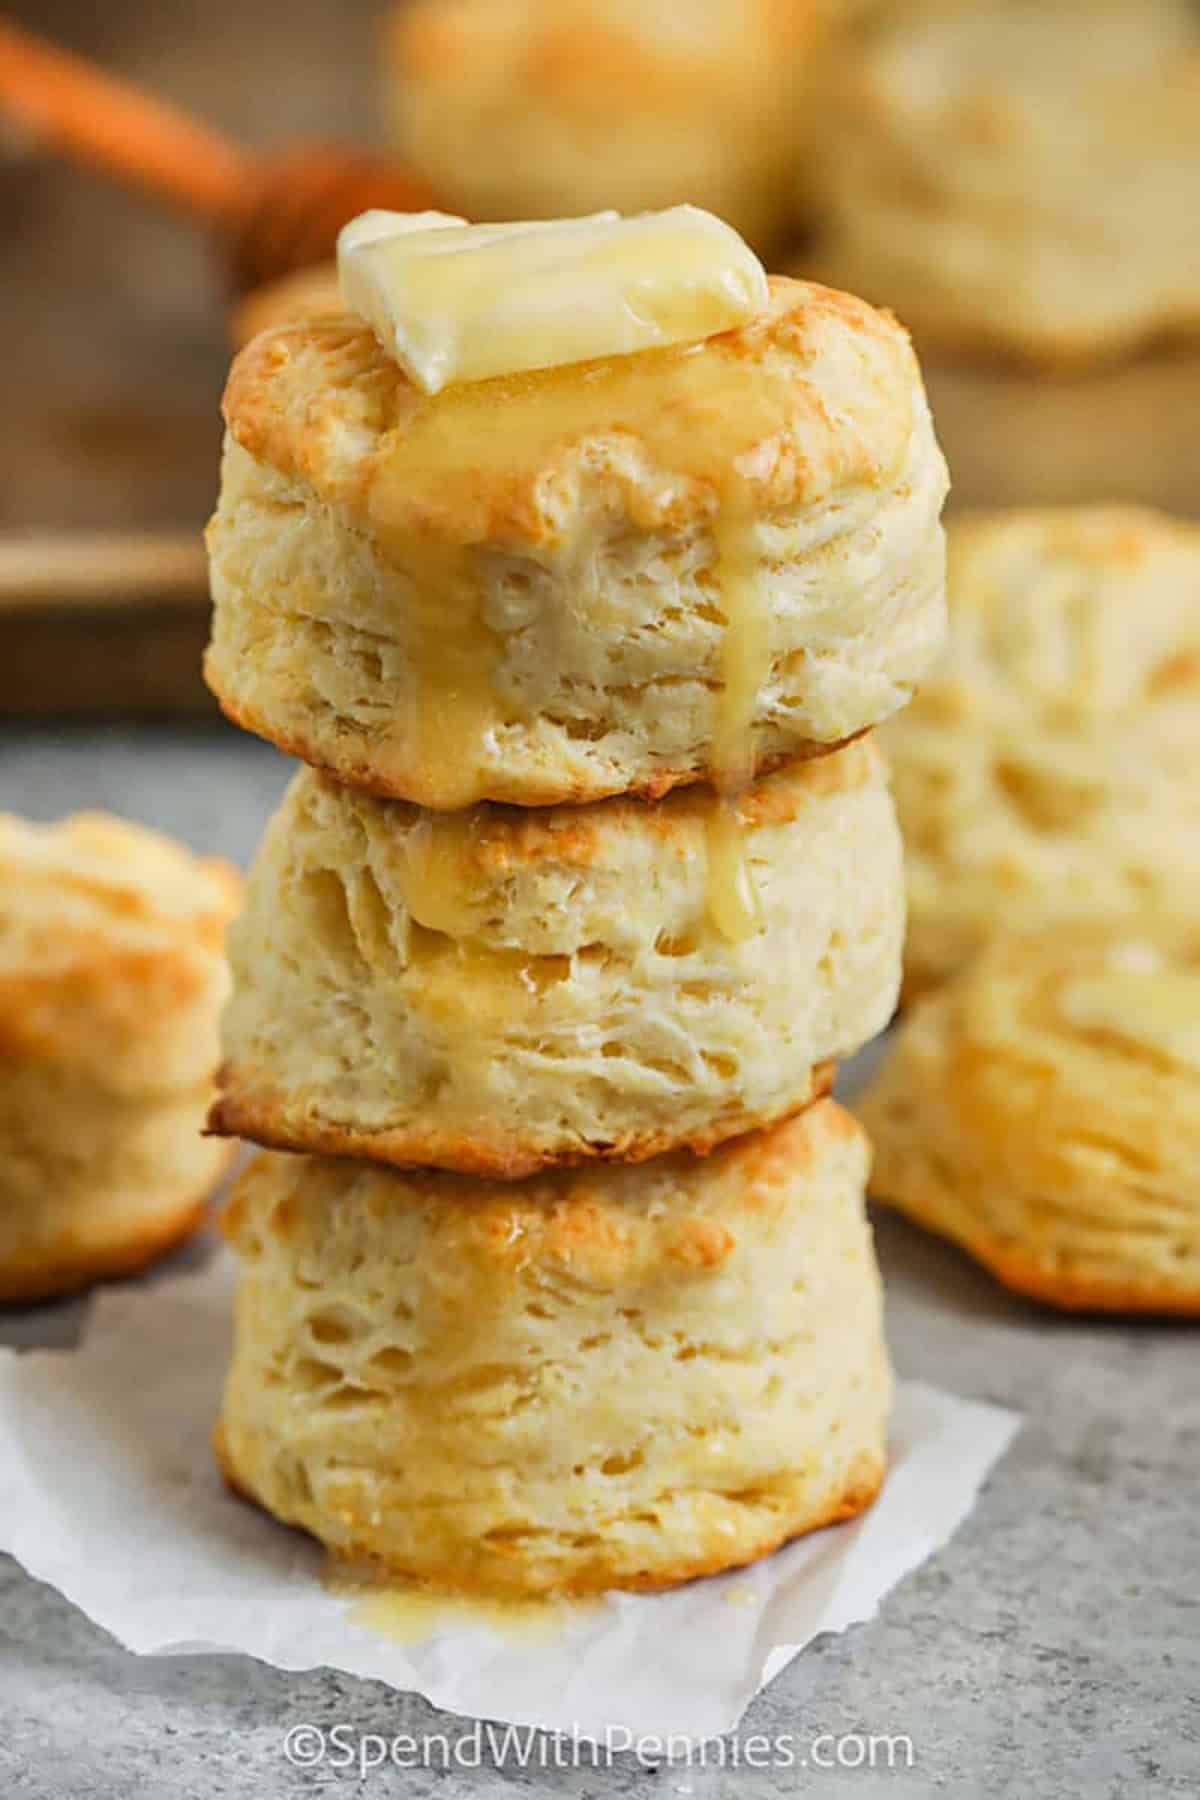
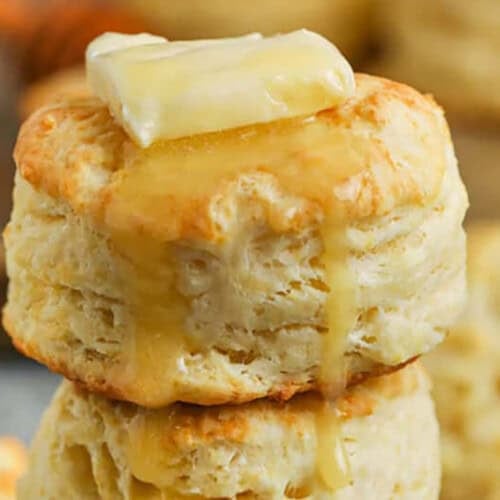
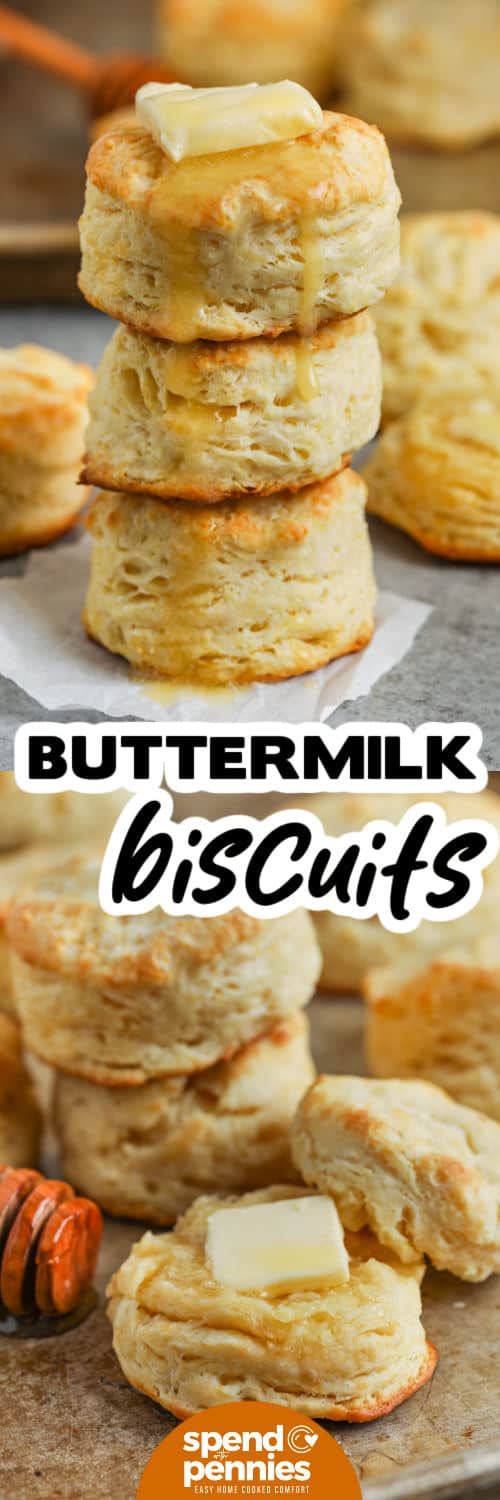
These Homemade Buttermilk Biscuits are fluffy, tender, and easy to make. Made with simple ingredients, they bake up golden and buttery.
Whether served for breakfast with strawberry rhubarb jam or with a bowl of tomato bisque for dinner, these homemade biscuits go with just about everything.
This post may contain affiliate links. Please read our disclosure policy.
Holly’s Recipe Highlights: Buttermilk Biscuits

Flavor: Rich, buttery flavor with a subtle tang from the buttermilk and a light, fluffy texture.
The Technique: This fold-and-pat method creates flaky layers without any special equipment or a long chilling step.
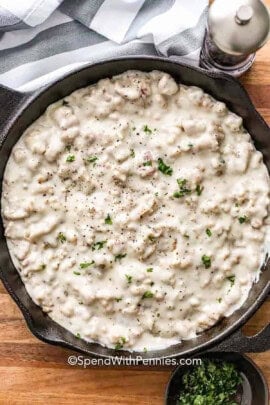
Serving Suggestions: Serve warm with butter and strawberry freezer jam, pair with this easy sausage gravy, or alongside a cozy bowl of split pea soup.
Total Time: 30 minutes Serves: 10 biscuits Cooking Method: Oven
Difficulty: Medium, with simple ingredients
Ingredient Notes

- Flour: All-purpose flour keeps these biscuits tender yet sturdy. Be sure to spoon and level the flour for the lightest texture.
- Butter: Cold butter is the key to flaky layers, so freeze it for a few minutes before cutting it in to help it stay in little pockets throughout the dough. Salted butter is fine to use.
- Buttermilk: Buttermilk adds a delicious tang and keeps these biscuits tender while helping them rise. Start with 1 cup and add just a little more if needed until the dough comes together nicely.
- To make a buttermilk substitute, add 1 tablespoon of vinegar or lemon juice to 1 cup of regular milk
- Variations: For a cheesy twist, add shredded cheddar right into the dough for a savory upgrade, mix in chopped chives or parsley for a fresh herb version, or brush the tops with buttermilk before baking for a little extra color.
How to Make Buttermilk Biscuits

- Combine the dry ingredients in a bowl.

- Cut in the butter until crumbly (full recipe below).

- Stir in buttermilk until moistened.

- Knead the dough gently, then cut with a biscuit cutter. Bake until golden brown.
Store, Freeze, Reheat
Keep leftovers in an airtight container at room temperature for up to 2 days or refrigerate for up to 4 days.
Freeze baked biscuits tightly wrapped for up to 3 months. Unbaked cut biscuits can also be frozen and baked from cold with a few extra minutes added.
Reheat in a 300°F oven for about 5 to 8 minutes or until warmed through.
Cozy Biscuit Pairings


Did you enjoy these Buttermilk Biscuits? Leave a comment and rating below.



Equipment
Ingredients
- 2 cups all-purpose flour
- 4 teaspoons baking powder
- 2 teaspoons granulated sugar
- ¼ teaspoon baking soda
- ½ teaspoon salt
- ⅓ cup cold butter
- 1 cup buttermilk
Instructions
- Preheat the oven to 450°F.
- In a large bowl, combine flour, baking powder, sugar, baking soda, & salt.
- Add the cold butter to the bowl and use two forks or a pastry cutter to cut the butter into the flour until the butter resembles large crumbs the size of a pea.
- Gradually add the buttermilk and stir with a spoon just until moistened. (You may need about 2 tablespoons more or less of buttermilk).
- Turn the dough onto a lightly floured work surface and gently knead a few times until the dough holds together.
- Pat the dough into a square and fold it over on itself 5 to 6 times.
- Pat the dough to 1-inch thick and cut using a sharp biscuit cutter, reshaping the scraps as needed.
- Place the biscuits on an ungreased baking sheet and bake 10 to 12 minutes or until golden.
Video
Notes
- Ensure butter is COLD. I place the butter in the freezer for a few minutes before starting.
- Cut in the butter until you have coarse crumbs about the size of peas.
- When cutting the biscuits, don’t twist the cutter. Just do one simple cut straight down. If twisted, this seals the edges and the biscuits won’t rise as well. The dough can also be pat into a rectangle and cut into squares.
- Use a sharp biscuit cutter. A round glass will produce the same size, the blunt edge will cause the same issue as above.
- Don’t overmix, the dough needs to just hold together and the butter needs to stay cold. Handling the dough too much will result in a tough biscuit. The heat from your hands will melt the butter.
- Use a lightly floured surface so you don’t add too much additional flour to the dough.
- Keep leftover biscuits in an airtight container at room temperature for up to 2 days, in the refrigerator for up to 4 days, and in the freezer for up to 3 months.
Nutrition Information
Nutrition information provided is an estimate and will vary based on cooking methods and brands of ingredients used.
 Course Bread, Side Dish
 Cuisine American
© SpendWithPennies.com. Content and photographs are copyright protected. Sharing of this recipe is both encouraged and appreciated. Copying and/or pasting full recipes to any social media is strictly prohibited. Please view my photo use policy here.
Recipe slightly adapted from Food.com





Followed recipe exactly. Dough was sticky so I got nervous and added flour when kneading then added a little more buttermilk (I know I make no sense). Kept the sticky dough and girlllllllllll!!! These biscuits got me looking like a superstar in my house. Added honey butter to the top in last few minute. Perfection !
These are phenomenal! I tripled the recipe and had to add a little more buttermilk to make the consistency just right. I also live in high altitude and these did beautifully!!! I had nothing but compliments!! Search no further!!!
These were good. I did triple the recipe, and may have over mixed a little because they weren’t quite what others have experienced but I will be making again.. but only a single batch next time!
Could I use a gluten free flour such as King Arthur measure for measure flour?
Hi Avis, we have not tried this recipe with gluten free flour but other readers have with success. They indicated you may need a bit more buttermilk. Let us know how they turn out!
Made your buttermilk biscuits last night , so easy and delicious, I will be making these for Christmas instead of buying dinner rolls , thank you for such great recipes !!!!
I am so glad you enjoyed these biscuits Naomi!
Can these biscuits be mixed with a stand mixer? Thank you.
I haven’t tried it so I can’t say for sure Donna. You want to be sure to not overmix the dough, the dough needs to just hold together, so I would use the mixer on the lowest setting. If you try it I would love to hear how it turns out!
Would it be possible to convert this recipe to Ibs and ozs also the liquid thank you.
Hi Rosalind, I don’t have these available in those measurements. I would suggest using an online converter for accurate conversion amounts. Enjoy the recipe!
These were the best biscuits I’ve ever made! So flaky and light. I loved the tips on not twisting the cutter and overlapping the dough to make the flaky layers. I will be making these a lot!! Thank you!!
i have salted butter do i leave out the salt
Yes, you can leave out the salt.
I have always wondered if I should remove a tablespoon of milk before I add the vinegar. Sometimes I do and sometimes I don’t, and there is no difference that I can tell. Just wondering your thoughts on this.
I usually put the tablespoon of vinegar into a 1 cup measuring cup and then top it to 1 cup with milk. In this recipe I think it would work either way!
Vinegar? Is this question on the wrong recipe?!?
This is correct. Vinegar can be added to milk to replace buttermilk.
This recipe makes great biscuits and family approved. I also learned a couple techniques in making them.
YES!!! This is the biscuit I’ve been looking for. Light, flaky and absolutely delicious. I baked only a few and froze the rest which bake off as delicious as the fresh ones. I’ve tried so many different recipes to no avail until yours. Thank you.
Easy to follow recipe, so light and fluffy! My absolute favorite biscuit recipe. Thanks for sharing!
I just made these exactly as the recipe stated and followed your tips. They turned out perfectly and so good! I didn’t have a sharp cutter so used a sharp knife. I will definitely make these again.
So happy to hear that, Laurie!
Should I use bread flour or regular white flour?
Hi Cynthia, We use all-purpose flour in this recipe.
We can only eat 4 or 5 at a time – would it be better to halve the recipe or freeze them? If I should freeze them, should they be baked or unbaked?
You can find the freezing information in the post:
Freeze Before or After Baking
To make these ahead of time, prepare the dough as directed, cut out biscuits, and freeze on a tray. Once frozen, store in a Ziploc bag. To prepare, bake from frozen at 425° for 20 minutes or until golden brown.
Any leftover biscuits can be kept wrapped on the counter for 1 day. They will keep it in an air-tight container in the freezer.
We tried these biscuits yesterday. Very delicious and so easy to make.
Excellent Excellent recipe. Very helpful tips in preparation. Freezing the butter (after it is cut-up) really helps. I have to make this on a regular basis as my husband loves these. Thanks .
You’re so very welcome Jeanette!
Love your recipes
Thank you Deanna!
Yes need a homemade goulash recipe
Check out the American Goulash and Hungarian Goulash recipes April!