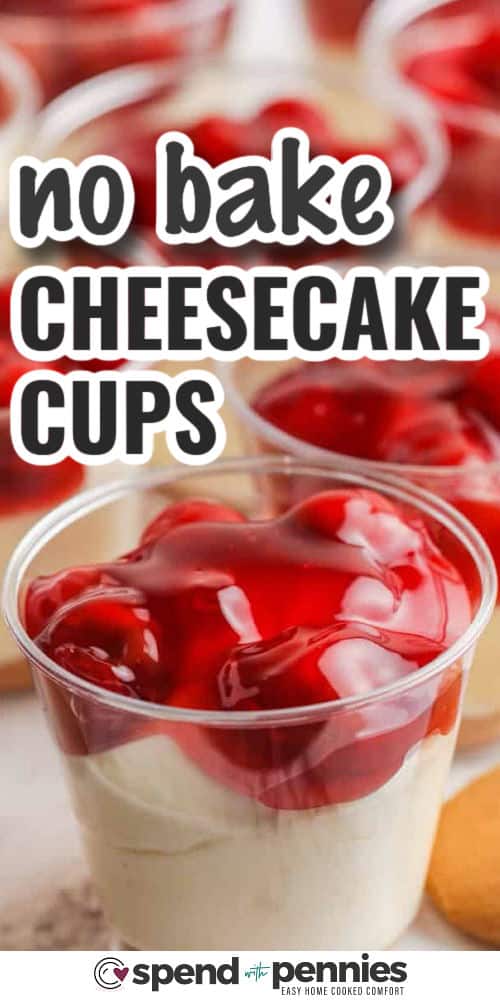
These easy no-bake cheesecake cups are the perfect individual dessert that comes together in minutes but tastes like a special treat. With a creamy, fluffy filling on a vanilla wafer base and your favorite fruit pie topping, they’re fun, festive, and totally irresistible.

This post may contain affiliate links. Please read our disclosure policy.
Holly’s Recipe Highlights
- Flavor: Light, creamy cheesecake with a soft vanilla wafer layer and a spoonful of fruity topping.
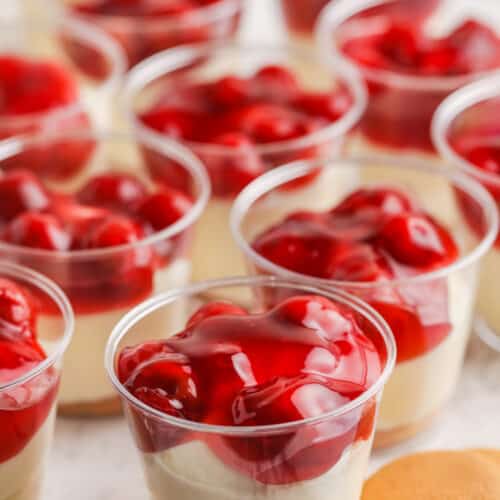
- Why Make It: These individual cheesecake cups are quick to assemble, easy to make ahead, and perfect for serving a crowd without any slicing required.
- Skill Level: Beginner-friendly with simple steps and no baking required.
- Make-Ahead Tip: Chill the cups before serving so the filling can set and the wafers soften into a tender, crust-like layer.
Ingredient Notes
- Cheesecake Filling: Use a full-fat block of cream cheese and let it soften completely for the smoothest texture. Whipped heavy cream makes the filling light and fluffy, while a little cornstarch helps it hold its shape.
- Vanilla Wafer Base: Whole vanilla wafers make these cheesecake cups quick to assemble and soften as they sit. Replace them with graham crackers, shortbread, or Oreos for a fun twist.
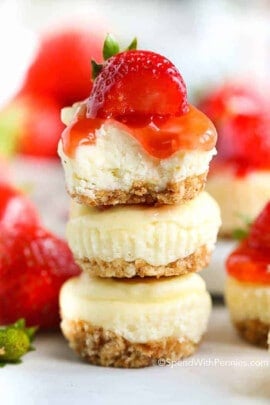
- Fruit Pie Filling: Cherry, strawberry, and blueberry pie fillings are always crowd-pleasers. Mix it up with fresh berries, lemon curd, caramel, chocolate sauce, or crushed cookies.
- Toppings: Add whipped cream, lemon zest, mini chocolate chips, crushed cookies, or toasted coconut for extra color and texture, or keep them simple with just the fruit topping.
- Variations: Make mini cheesecake cups in smaller cups for dessert trays, add lemon zest to the filling for extra brightness, or skip the pie filling and top with fresh fruit just before serving.


How To Make Cheesecake Cups
- Beat the cream cheese until smooth.
- In a separate bowl, make whipped cream. Fold the whipped cream into the cream cheese (full recipe below).
- Place a vanilla wafer cookie in the bottom of each cup and pipe the cheesecake into each cup.
Refrigerate for at least 1 hour. Top with your favorite fruit toppings and enjoy!
Storing Leftovers
Keep leftovers in an airtight container in the refrigerator for up to 5 days. Freeze for up to 2 months. Thaw in the refrigerator overnight before serving.
Must-Try Individual Desserts


Did you enjoy this Easy Cheesecake Cups Recipe? Leave a comment and rating below.

Equipment
- 4 oz Plastic Cups or mini mason jars, 16 pcs
Ingredients
- 16 ounces cream cheese softened
- 1 cup powdered sugar
- 1 teaspoon vanilla extract
- 1 cup heavy whipping cream
- ½ teaspoon cornstarch
- 16 vanilla wafer cookies or more as needed
- 1 can prepared fruit pie filling cherry, strawberry, or blueberry
Instructions
- Beat cream cheese with an electric mixer until smooth. Add powdered sugar and vanilla and beat until combined. Set aside.
- In a medium bowl, beat heavy cream on low for 1 minute. Add cornstarch and turn the mixer onto high and beat an additional 3 to 4 minutes or until stiff peaks form. Fold whipped cream into the cream cheese mixture.
- Place one wafer on the bottom of each cup then fill with the cheesecake filling until 1" from the top of the cup.
- Spoon the desired pie filling on top. Chill at least 1 hour and serve.
Notes
- Store individual cheesecake cups in the fridge for up to 5 days. Freeze for up to 2 months, thaw in the fridge before serving. Leftovers (with toppings) can be frozen. These freeze beautifully.
- Nutrition information is based on 16 servings, this will vary depending on your cup/container size.
- The cheesecake will set up a bit thicker, and the cookie will soften as it chills. Overnight is best. If you don’t have much time to chill, crush the cookie before adding it to the cups. You can use any kind of cookie at the bottom of the cup.
Nutrition Information
Nutrition information provided is an estimate and will vary based on cooking methods and brands of ingredients used.
© SpendWithPennies.com. Content and photographs are copyright protected. Sharing of this recipe is both encouraged and appreciated. Copying and/or pasting full recipes to any social media is strictly prohibited. Please view my photo use policy here.


I put together this recipe for 5 oz cups. i did add a graham cracker crust. These were for a department bridal shower lunch. There are so many no bake cheesecake recipes on Pinterest and I decided to try this one since I have made other dessert recipes from you and you provide a video.This is so simple yet so delicious. The cherry topping was perfect and it came together so quickly. Thank you!
Looks amazing, thank you!!
So very easy, quick and delish to boot!!! This will be my go to!
Hi! Love this recipe and all of the awesome comments. I’m going to make this for a retirement luncheon at school and was wondering if I still need the cornstarch if I’m using cool whip. Thanks, Jackie
You don’t need cornstarch if using Cool Whip. Enjoy the recipe!
This is a great and easy dessert. Only one problem. Someone is always asking me to make it. I have used strawberry, cherry, blueberry and caramel filling. It freezes really well. A must make dessert.
can they be frozen with the toppings on them?
Yes, I freeze them with canned pie topping on them frequently.
can i mix up the cheese cake filling the day before and keep in the refrigator till the next day then pipe it into the cups?
I am going 2 hours away and want to put in the cups when i get there because i cannot transport all the individual cups
While I haven’t tried it, the filling does firm up as it chills. If you’d like to pipe it, you may need to let it warm slightly. Let us know how it goes!
Would love to make it doesn’t give how much you use of each ingredient.
Hi Shirley, you can scroll towards the bottom of the post or use the jump to recipe button at the top to find the full recipe including ingredients and baking instructions. I hope that helps!
Where can I find the cups?
You can usually find these at the dollar store!
Awesome quick dessert great. Hit with my friends
So glad you liked it, Jayshree! Thanks for leaving a comment :)
I made this yesterday and was awesome. My friend said it was the best she’d had so I will be making it again…
So glad you enjoyed it, MaryJo!
Do you think I can make a whole cheesecake with this recipe? and use the normal springform pan? and make the traditional Graham Cracker crust?
Hi Billie, we have only tried this recipe as written but if you want to make a whole cheesecake, I would recommend this easy cheesecake recipe. Let us know how it turns out for you!
Made these last night. Awesome flavor. Sending some to Church Ladies game day.
I hope they love them, Charles!
I have a question, I haven’t made these yet but plan on it for a gender reveal party. Just wondering if I can put food coloring in cheesecake mix? Will it alter the flavor or texture? I’m assuming no but not the best baker lol. Thank you! Trista
That will be just fine Trista, it shouldn’t alter the flavor or texture as you just need a very small amount! They will turn out so cute!
I made these for a ladies luncheon and they were a huge hit! A couple of ladies even asked to take one home to their hubbies.
I was unable to find the 4 ounce clear cups at my store so I used 5.5 ounce clear snack cups with lids, which really came in handy as I had to transport them to the luncheon’s location. I also used an 8 ounce tub of Cool Whip instead of the heavy cream and powdered sugar but I still used the cornstarch to firm up the mixture (mixed it in with the cream cheese instead of the Cool Whip), and I think that really did help give the cheesecake mixture the right body. I used my wire whip on my mixer to mix the Cool Whip in to the cream cheese as that seem to help make the consistency smoother. Like suggested, I made them the day before I needed them and I think that really help meld the flavors.
I would definitely make these again. They were super easy to make and seem rather elegant.
So glad you loved these Nancy!
Hi there…
You’ve given me an idea with this one. :)
Since it’s close to the Independence Holiday I’m going to use Cherry and Blueberry topping to get a RED WHITE & BLUE theme going.
I didn’t want to use the stand by cool whip because I need to make these ahead of time before serving.
Who doesn’t like cheesecake? lol
That sounds like such a fun idea, Kim! Thanks for sharing.
Can’t wait to try this. If I were to use unflavored gelatin as a stabilizer would 1 tsp be enough? Am planning on making this for a party in a tropical place.
I have only tried this as written, you could check the package of gelatin to see if there is any information there.
Why use cornstarch in something you’re not cooking? It jut stays gritty. It doesn’t thicken or anything.
I don’t find it to be gritty in the amount used. Cornstarch is added to stabilize the whipped cream (so it doesn’t fall or get weepy).
This recipe is so easy and so delicious! Made a batch for my Bunco group and everyone loved them!
That is great, Denise! So glad they enjoyed it.
Can graham cracker crumbs be used in this?
Yes, they can!