
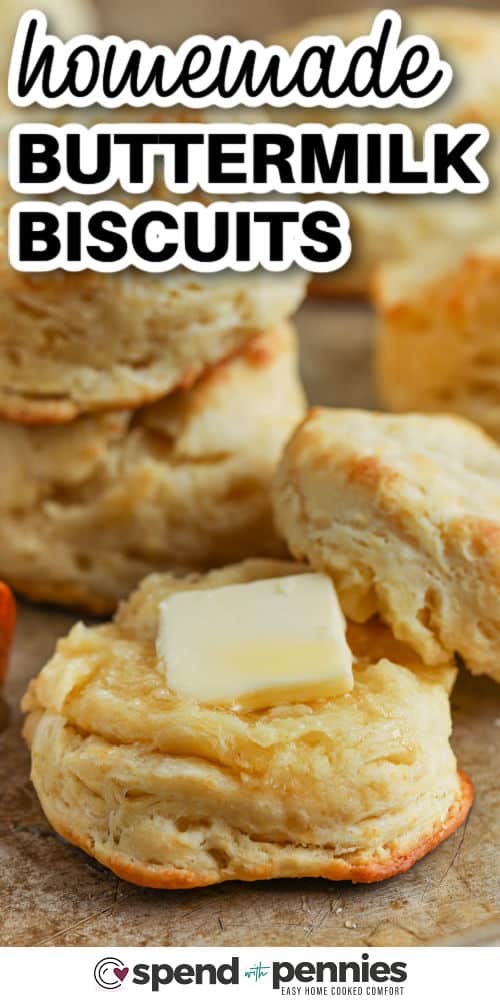
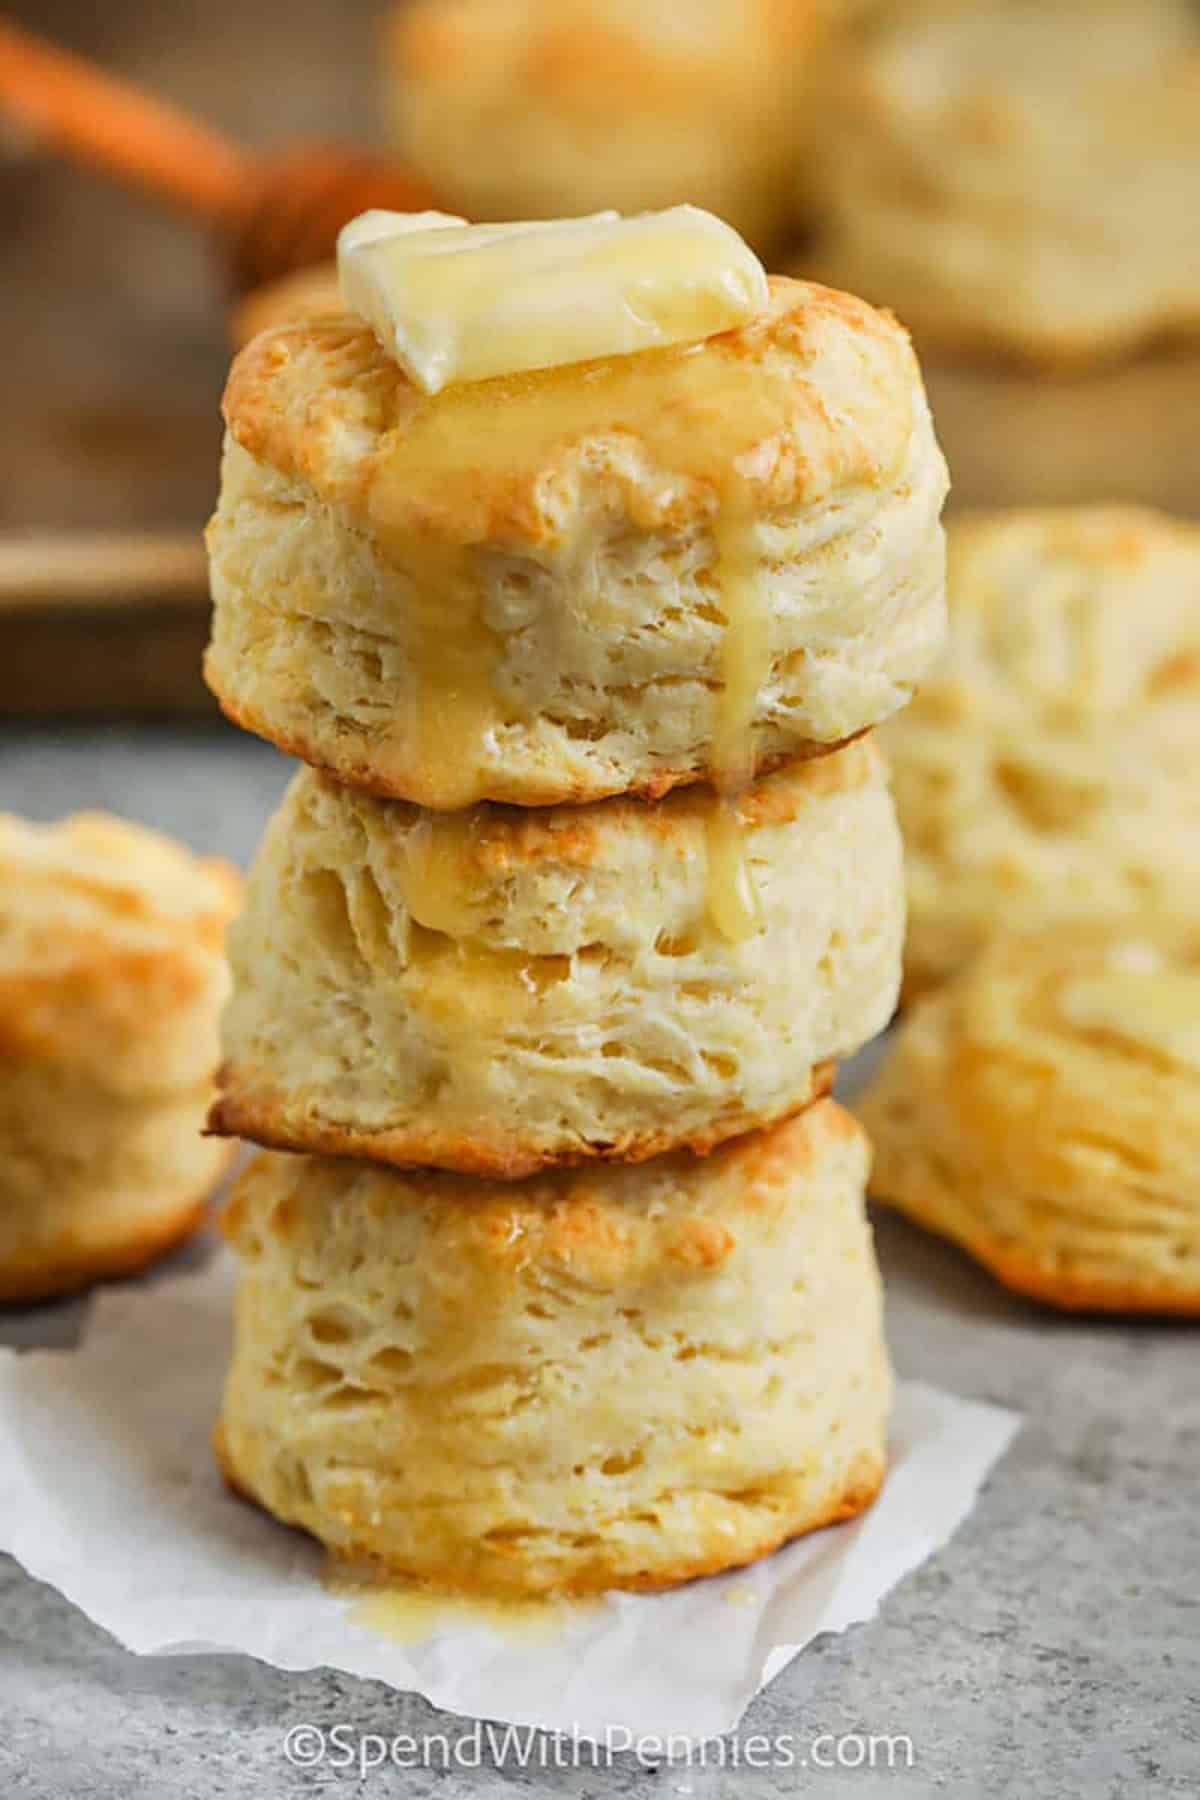
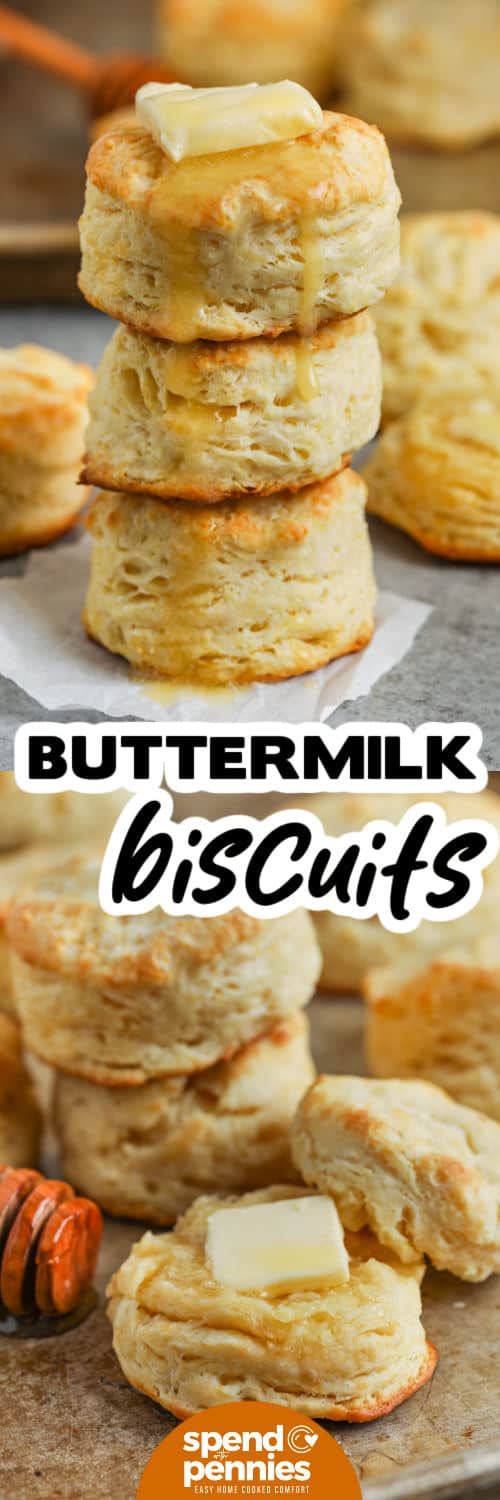
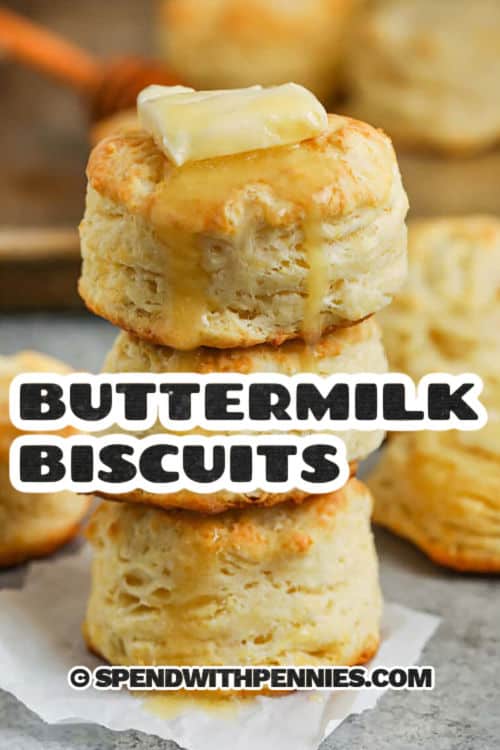
These Homemade Buttermilk Biscuits are fluffy, tender, and easy to make. Made with simple ingredients, they bake up golden and buttery.
Whether served for breakfast with strawberry rhubarb jam or with a bowl of tomato bisque for dinner, these homemade biscuits go with just about everything.
This post may contain affiliate links. Please read our disclosure policy.
Holly’s Recipe Highlights: Buttermilk Biscuits

Flavor: Rich, buttery flavor with a subtle tang from the buttermilk and a light, fluffy texture.
The Technique: This fold-and-pat method creates flaky layers without any special equipment or a long chilling step.
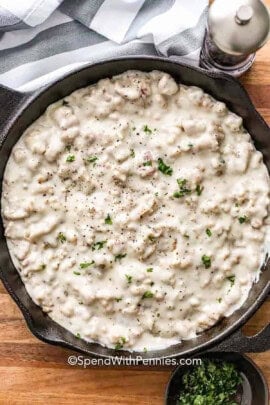
Serving Suggestions: Serve warm with butter and strawberry freezer jam, pair with this easy sausage gravy, or alongside a cozy bowl of split pea soup.
Total Time: 30 minutes Serves: 10 biscuits Cooking Method: Oven
Difficulty: Medium, with simple ingredients
Ingredient Notes

- Flour: All-purpose flour keeps these biscuits tender yet sturdy. Be sure to spoon and level the flour for the lightest texture.
- Butter: Cold butter is the key to flaky layers, so freeze it for a few minutes before cutting it in to help it stay in little pockets throughout the dough. Salted butter is fine to use.
- Buttermilk: Buttermilk adds a delicious tang and keeps these biscuits tender while helping them rise. Start with 1 cup and add just a little more if needed until the dough comes together nicely.
- To make a buttermilk substitute, add 1 tablespoon of vinegar or lemon juice to 1 cup of regular milk
- Variations: For a cheesy twist, add shredded cheddar right into the dough for a savory upgrade, mix in chopped chives or parsley for a fresh herb version, or brush the tops with buttermilk before baking for a little extra color.
How to Make Buttermilk Biscuits

- Combine the dry ingredients in a bowl.

- Cut in the butter until crumbly (full recipe below).

- Stir in buttermilk until moistened.

- Knead the dough gently, then cut with a biscuit cutter. Bake until golden brown.
Store, Freeze, Reheat
Keep leftovers in an airtight container at room temperature for up to 2 days or refrigerate for up to 4 days.
Freeze baked biscuits tightly wrapped for up to 3 months. Unbaked cut biscuits can also be frozen and baked from cold with a few extra minutes added.
Reheat in a 300°F oven for about 5 to 8 minutes or until warmed through.
Cozy Biscuit Pairings


Did you enjoy these Buttermilk Biscuits? Leave a comment and rating below.


Buttermilk Biscuits


Equipment
Ingredients
- 2 cups all-purpose flour
- 4 teaspoons baking powder
- 2 teaspoons granulated sugar
- ¼ teaspoon baking soda
- ½ teaspoon salt
- ⅓ cup cold butter
- 1 cup buttermilk
Instructions
- Preheat the oven to 450°F.
- In a large bowl, combine flour, baking powder, sugar, baking soda, & salt.
- Add the cold butter to the bowl and use two forks or a pastry cutter to cut the butter into the flour until the butter resembles large crumbs the size of a pea.
- Gradually add the buttermilk and stir with a spoon just until moistened. (You may need about 2 tablespoons more or less of buttermilk).
- Turn the dough onto a lightly floured work surface and gently knead a few times until the dough holds together.
- Pat the dough into a square and fold it over on itself 5 to 6 times.
- Pat the dough to 1-inch thick and cut using a sharp biscuit cutter, reshaping the scraps as needed.
- Place the biscuits on an ungreased baking sheet and bake 10 to 12 minutes or until golden.
Video
Notes
- Ensure butter is COLD. I place the butter in the freezer for a few minutes before starting.
- Cut in the butter until you have coarse crumbs about the size of peas.
- When cutting the biscuits, don’t twist the cutter. Just do one simple cut straight down. If twisted, this seals the edges and the biscuits won’t rise as well. The dough can also be pat into a rectangle and cut into squares.
- Use a sharp biscuit cutter. A round glass will produce the same size, the blunt edge will cause the same issue as above.
- Don’t overmix, the dough needs to just hold together and the butter needs to stay cold. Handling the dough too much will result in a tough biscuit. The heat from your hands will melt the butter.
- Use a lightly floured surface so you don’t add too much additional flour to the dough.
- Keep leftover biscuits in an airtight container at room temperature for up to 2 days, in the refrigerator for up to 4 days, and in the freezer for up to 3 months.
Nutrition Information
Nutrition information provided is an estimate and will vary based on cooking methods and brands of ingredients used.
 Course Bread, Side Dish
 Cuisine American
© SpendWithPennies.com. Content and photographs are copyright protected. Sharing of this recipe is both encouraged and appreciated. Copying and/or pasting full recipes to any social media is strictly prohibited. Please view my photo use policy here.
Recipe slightly adapted from Food.com




Yum!
Very easy and comes out wonderful. Thanks!
excellent,. I have tried several of your recipes and loved them all. I have not commented before but want you to know I appreciate you and your recipes.
Thank you for the kind words Connie, this made my day! I am so glad you are enjoying the recipes.
Light, crispy on outside, fluffy on inside. Delicious! Thank you.
I’ve never been a successful biscuit maker…..I am now! Great recipe!
I am so happy to hear this recipe worked out for you Judy!
nothing like a great beef stew ( your delicious recipe) and of course these amazing biscuits on a very cold windy day (-30 🥶).
this time I used a grater for the butter, still turned out great.
TY again for just being a *search* away
Hi, I would like to make these ahead of time.
should I bake first or freeze the dough?
Thanks! I can’t wait to make these. I have made a lot of great food from your site.
Either works, you can find the freezing information in the post:
Freeze Before or After Baking
To make these ahead of time, prepare the dough as directed, cut out biscuits, and freeze on a tray. Once frozen, store in a Ziploc bag. To prepare, bake from frozen at 425° for 20 minutes or until golden brown.
Any leftover biscuits can be kept wrapped on the counter for 1 day. They will keep it in an air-tight container in the freezer.
Easy to make and they taste great. I’ve made them several time and there never seem to be any leftover.
Super easy even for an incompetent baker like myself! My 10 year old twins DEVOURED them.
These biscuits are amazing! I make them and freeze them so we can eat them whenever we want them. However, for my oven 450/425 is way too high. After much trial and error, I have found that 395 or 400 is the best temperature and bake them for about 15 minutes.
I made a mess. I froze my butter and added it last. I think that might have been the problem. But…they were very good!
These came out amazing. Never made buttermilk biscuits from scratch before and followed all of the instructions – didn’t overmix, used cold butter from the freezer, cut with a knife straight down.
I grated the frozen butter on a box cutter so it didn’t get to look like peas and the dough was sticky wet after adding the buttermilk but you could still see the pieces of butter. I floured my hands and patted the dough into the one inch thick rectangle and wondered if I messed up and the biscuits would come out dense. They came out golden crusted with airy delicate interiors.
All this in just fifteen minutes and served with the beef barley soup recipe from this site.
A world away from the hockey puck biscuits I’ve been served in restaurants.
So glad you loved them Marilyn, perfect with beef barley soup!
These biscuits are awesome! I can’t believe I actually made something that tastes this good! I will be making these again. They are so good I had to stop myself from eating all of them!
This is the best tea biscuit recipe I ever tried. Thay are the best.
What is 0.75 teaspoon baking soda? I’m sure I know but I just want to make sure. Thanks God Bless.
This is ¼ teaspoon for one recipe, if you are tripling the recipe, you’ll need ¾ teaspoon.
Ok great thank you so much, I’m sorry I have another question the butter is salted or unsalted? Thanks God Bless.
I would use unsalted butter since salt is added to the dough as well.
OH. MY. GOSH!! This recipe is so easy and quick, and the biscuits are incredible! They rise beautifully as they bake and the flavor is delicious. I really appreciated the tip about not twisting the cutter tool as I cut the biscuits…what a difference it made! They rose twice the size! The only downside is that once I take them out of the oven they are gone in minutes. My whole family loves them! Thanks for the wonderful recipe and tip, Holly!
I followed the recipe ingredients to a T. I definitely over did mixing the butter in. Mine rose a ridiculous amount. They were 2.5”-3” tall. What could cause this? They were also a bit doughy in the middle, although they were done. What could I do to remedy this?
You might like to pat them a little bit thinner next time.
I don’t think I have ever been disappointed by one of your recipes, and these buttermilk biscuits are no exception to that!
My family thanks you!